Comments as markers on your timeline
Bring a video's review comments into Premiere Pro or DaVinci Resolve as colored markers, each at the moment it was made, with the replies inside. After the next round of feedback, run it again: the markers are updated and the ones you added yourself stay.
Before you start
Open the video in OpenFrame, click the download icon above the comments and choose Premiere Pro: add to timeline or DaVinci Resolve: add to timeline. The window that opens has everything you need: the download, the video's link and a button that creates a token. A token is a key that lets the plugin read your projects and comments; it can't change anything.
Premiere Pro
Works with Premiere Pro 25.6 or later, installed through Creative Cloud.
1. Install the panel
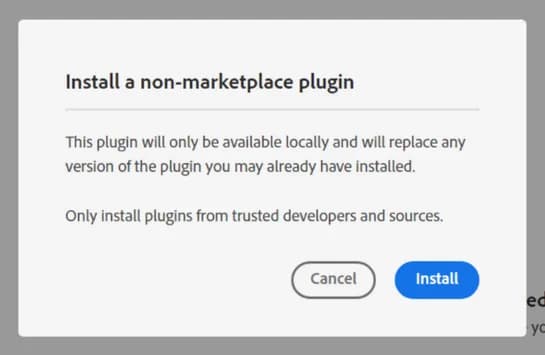
Download the panel and double-click the file. Creative Cloud asks whether to install it; choose Install.
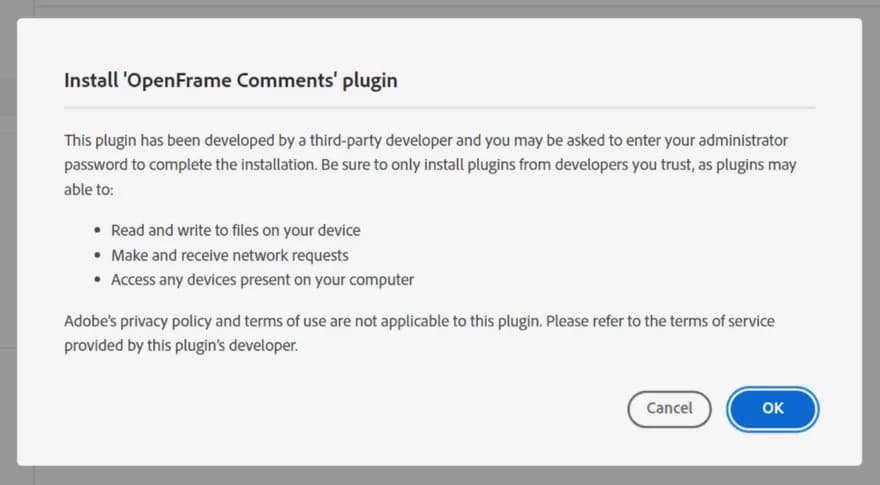
Then choose OK.
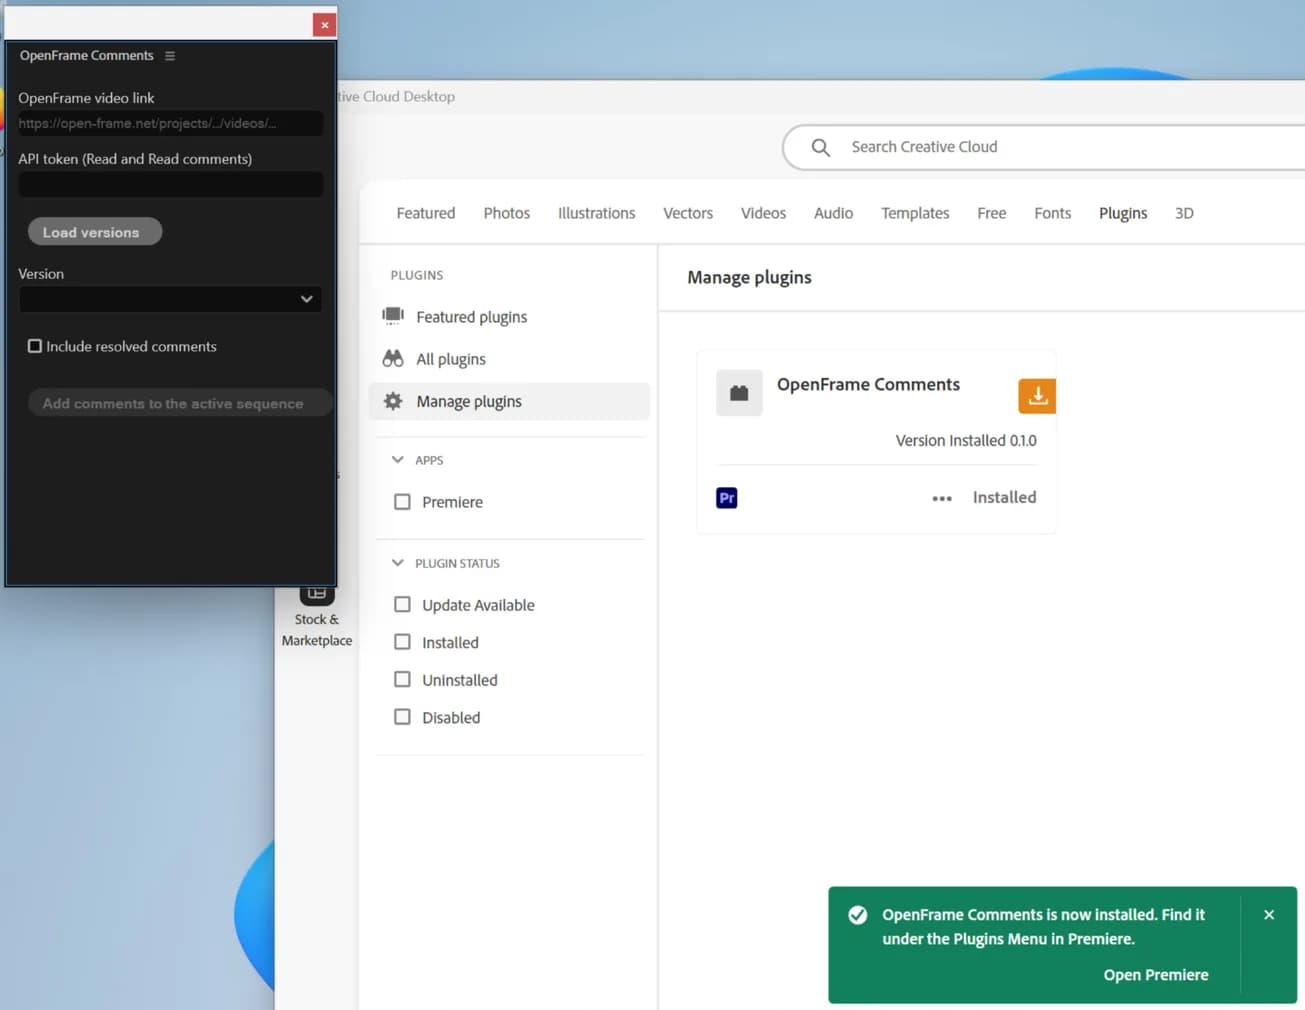
2. Open the panel
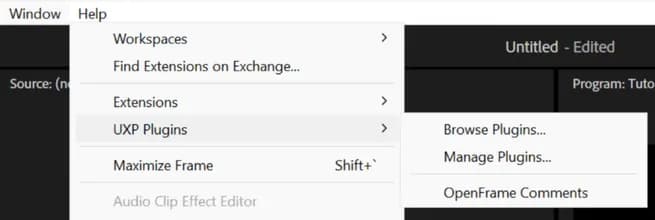
In Premiere, choose Window → UXP Plugins → OpenFrame Comments. You can dock it next to your other panels.
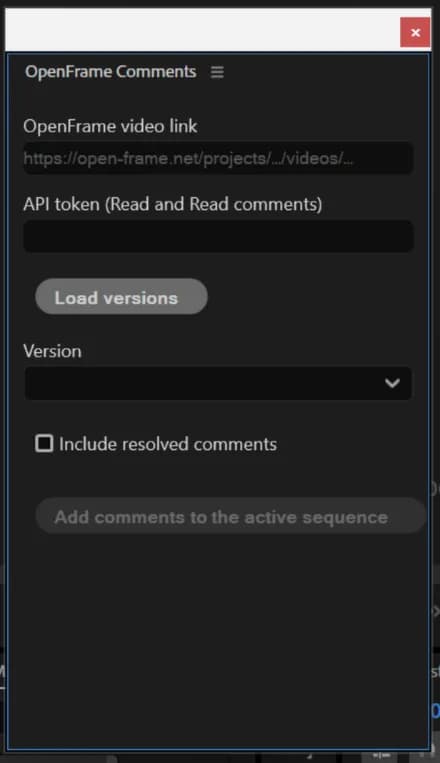
3. Paste the link and the token
Paste the video's link and the token, then choose Load versions and pick the version you are cutting. You only paste the token once; the panel remembers it.
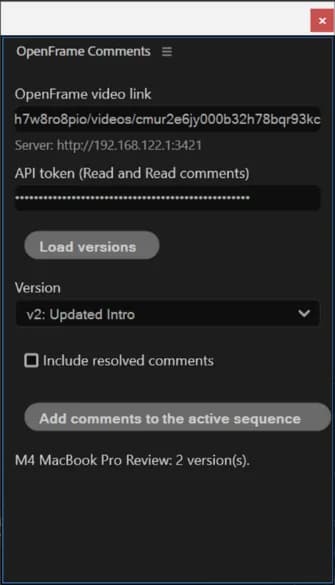
4. Add the comments
With your sequence open, choose Add comments to the active sequence. Resolved comments are left out unless you tick Include resolved comments.
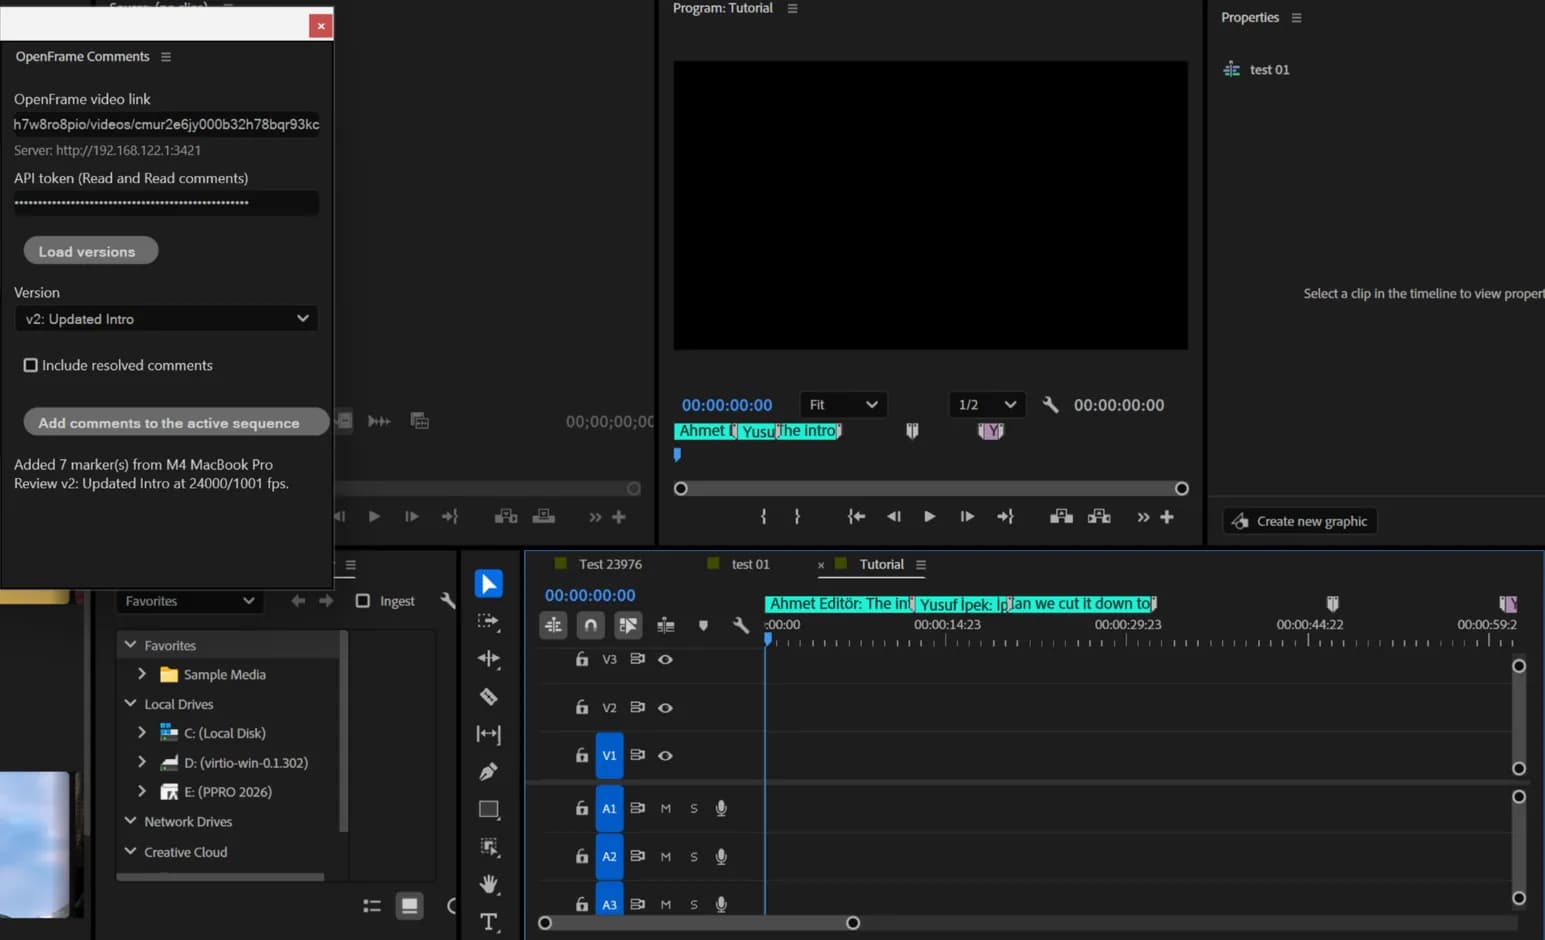
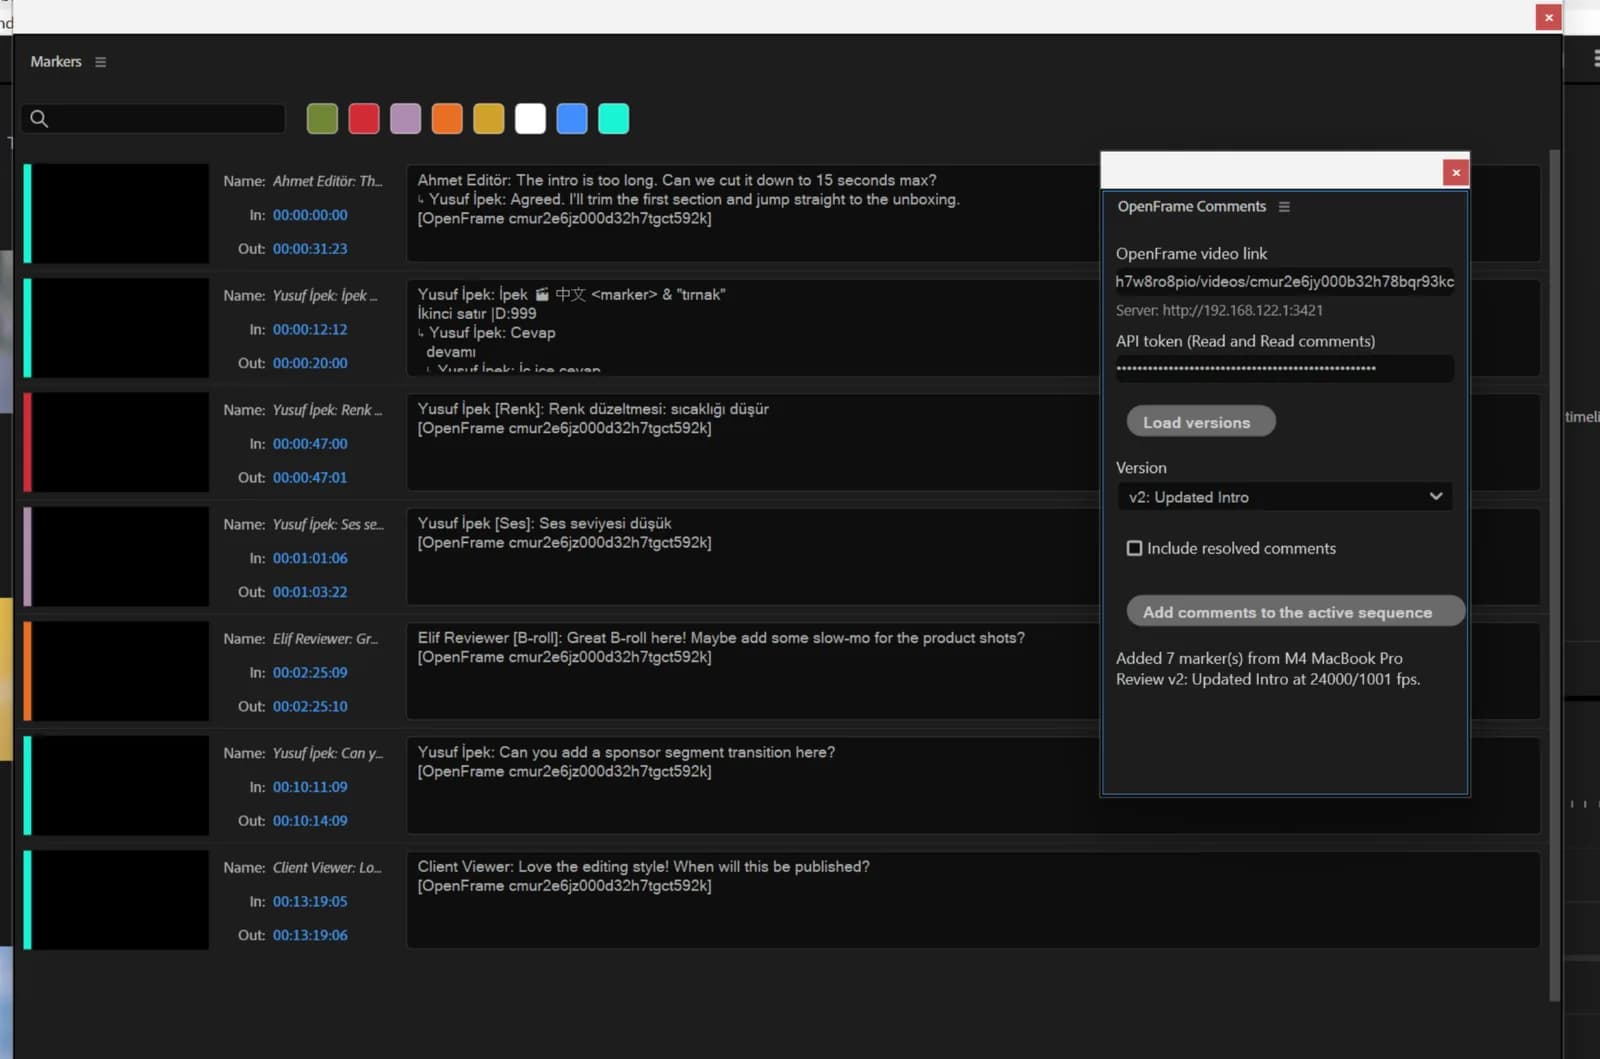
Window → Markers lists every comment with its color and replies. Keep the last line of each marker's comment as it is; the panel uses it to update the marker next time.
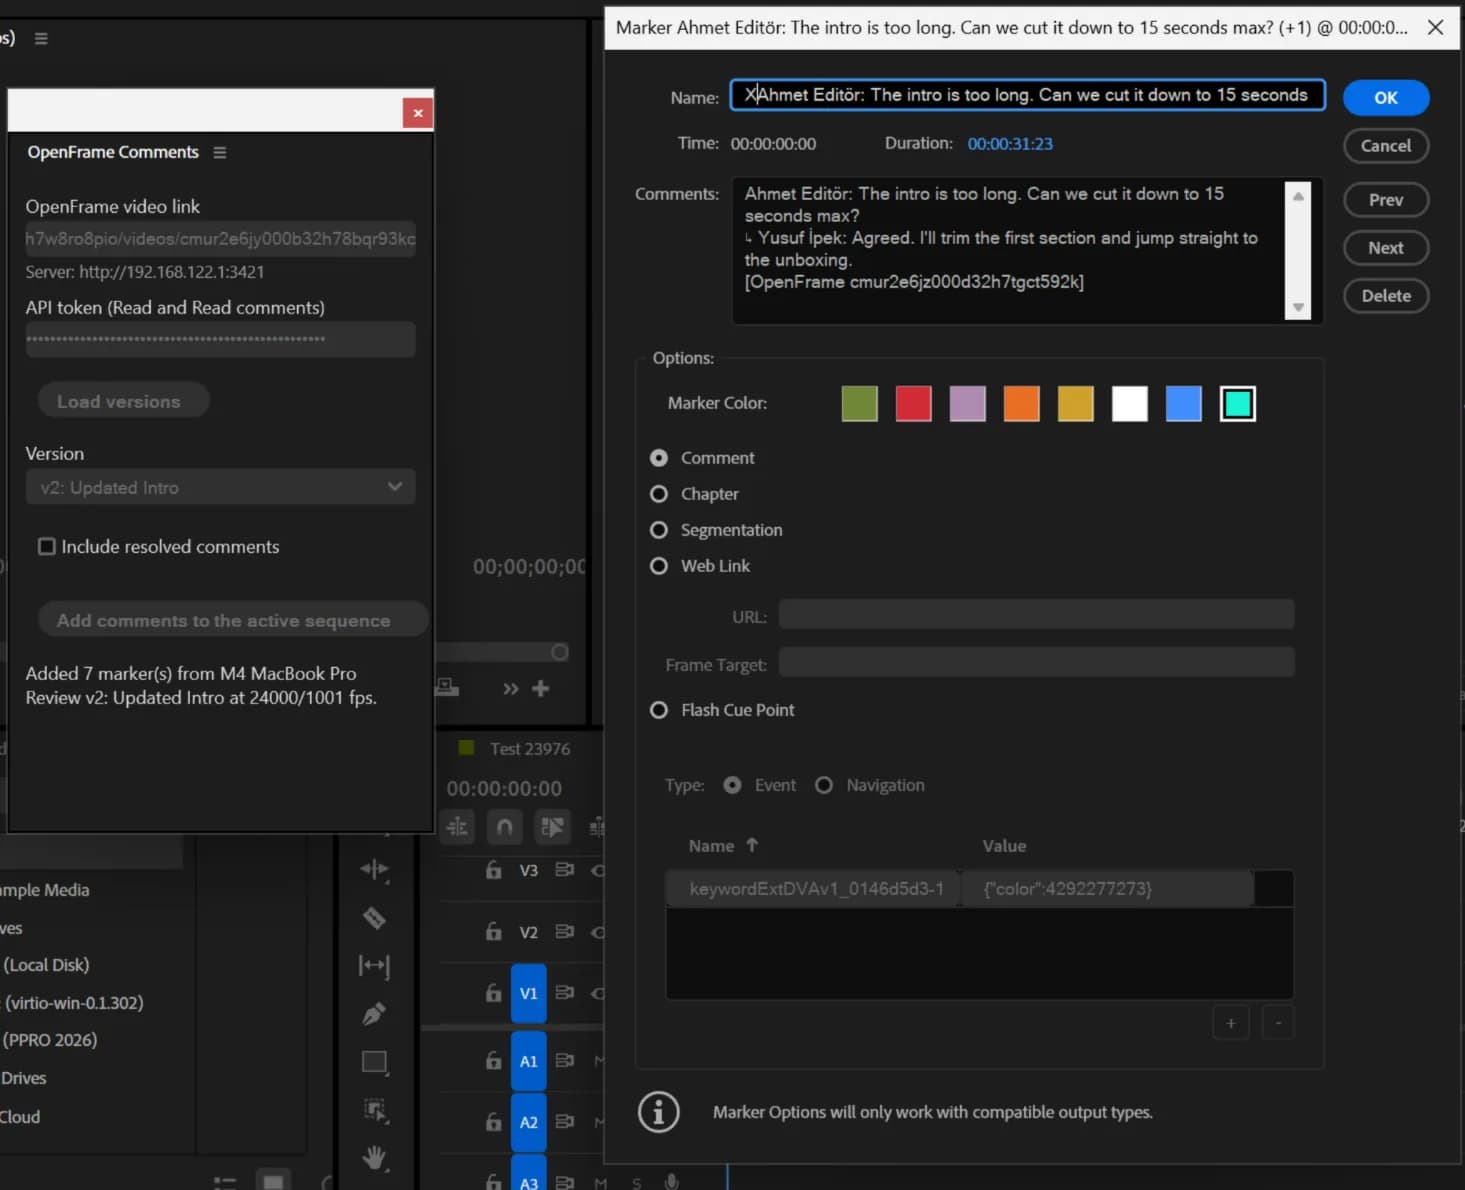
5. After new feedback
Choose the same button again. The markers from last time are replaced with the current comments, so comments resolved since then disappear from the timeline.
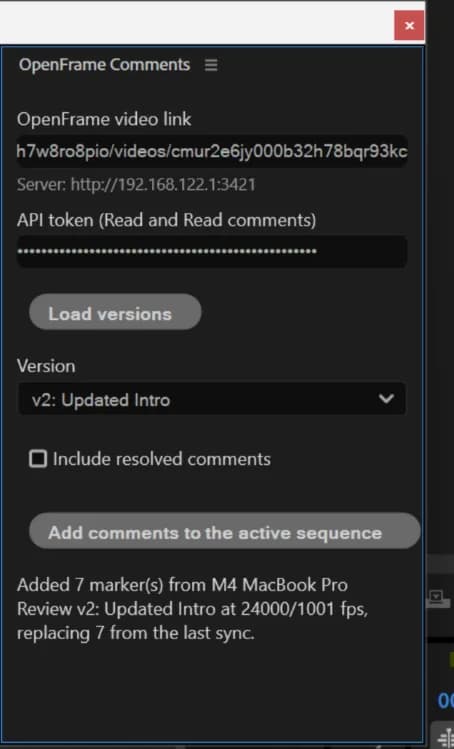
Changed your mind? Edit → Undo takes it back in a few steps: two for the first time (colors, then markers), three after that.
DaVinci Resolve
1. Install the script
Download the script and move it into this folder (create the
Utilityfolder if it is missing), then restart Resolve:- Windows:
%APPDATA%\Blackmagic Design\DaVinci Resolve\Support\Fusion\Scripts\Utility - Mac:
~/Library/Application Support/Blackmagic Design/DaVinci Resolve/Fusion/Scripts/Utility - Linux:
~/.local/share/DaVinciResolve/Fusion/Scripts/Utility
- Windows:
2. Open the script
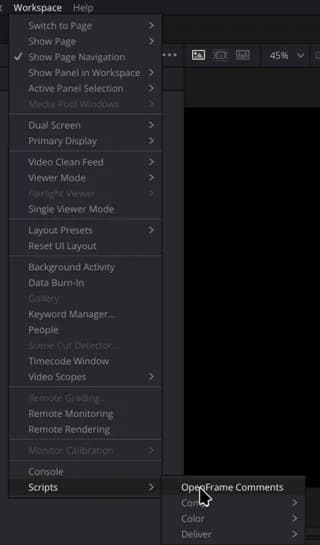
With your timeline open, choose Workspace → Scripts → OpenFrame Comments.
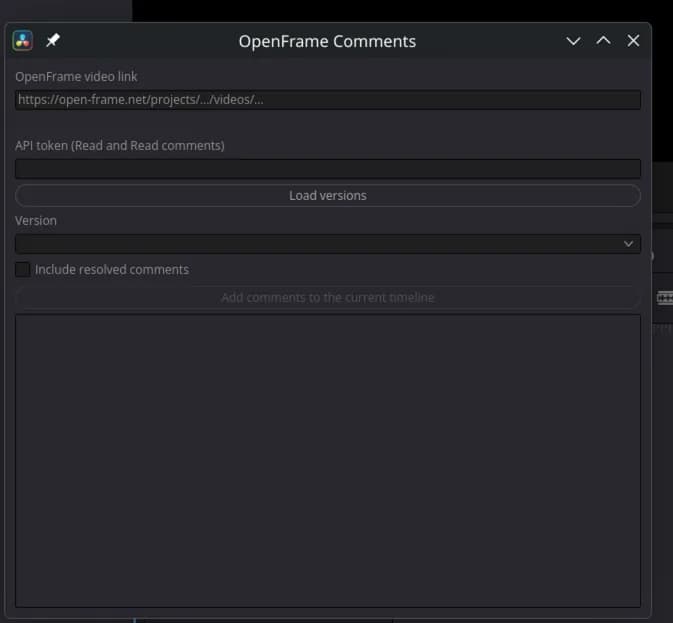
3. Paste the link and the token
Paste the video's link and the token, choose Load versions and pick the version. The script remembers both for next time.
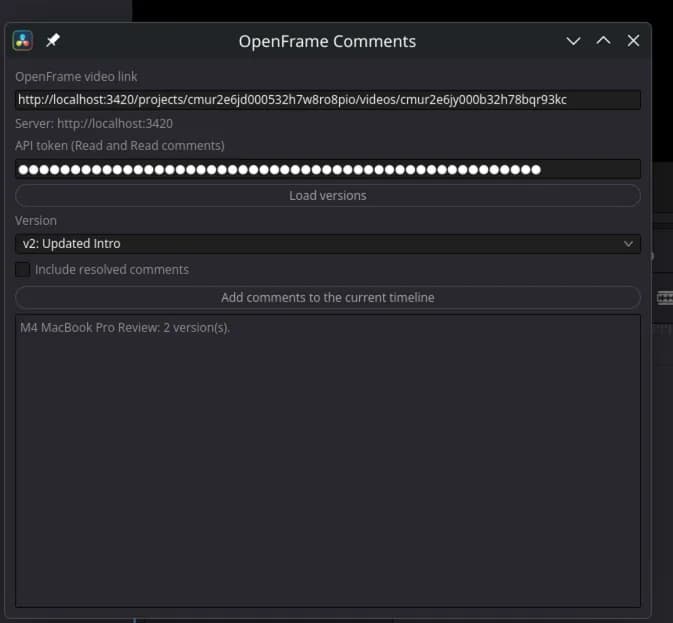
4. Add the comments
Choose Add comments to the current timeline. Resolved comments are left out unless you tick Include resolved comments.
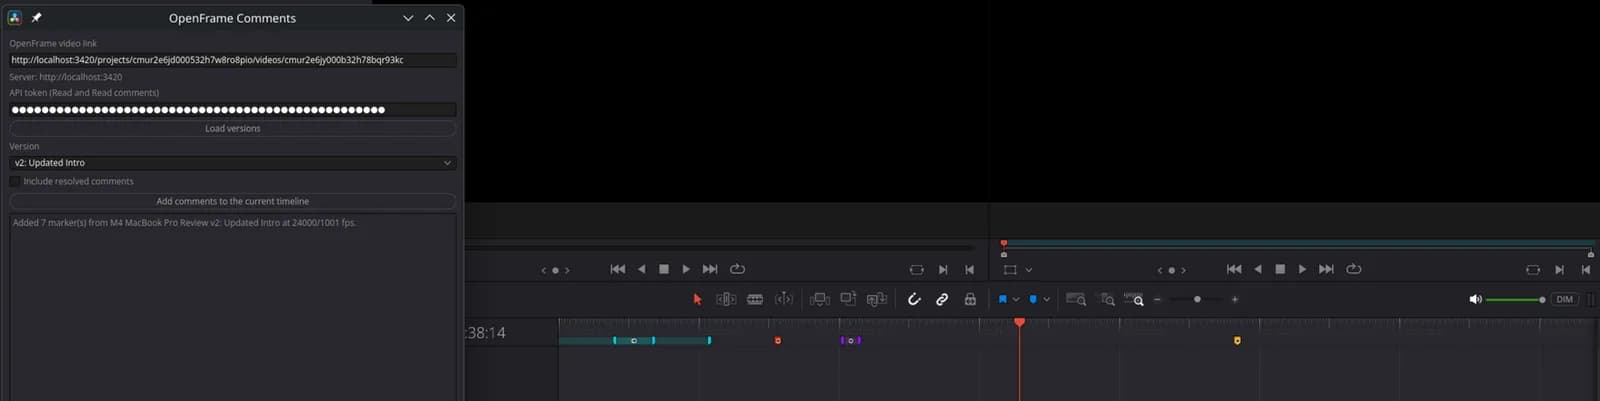
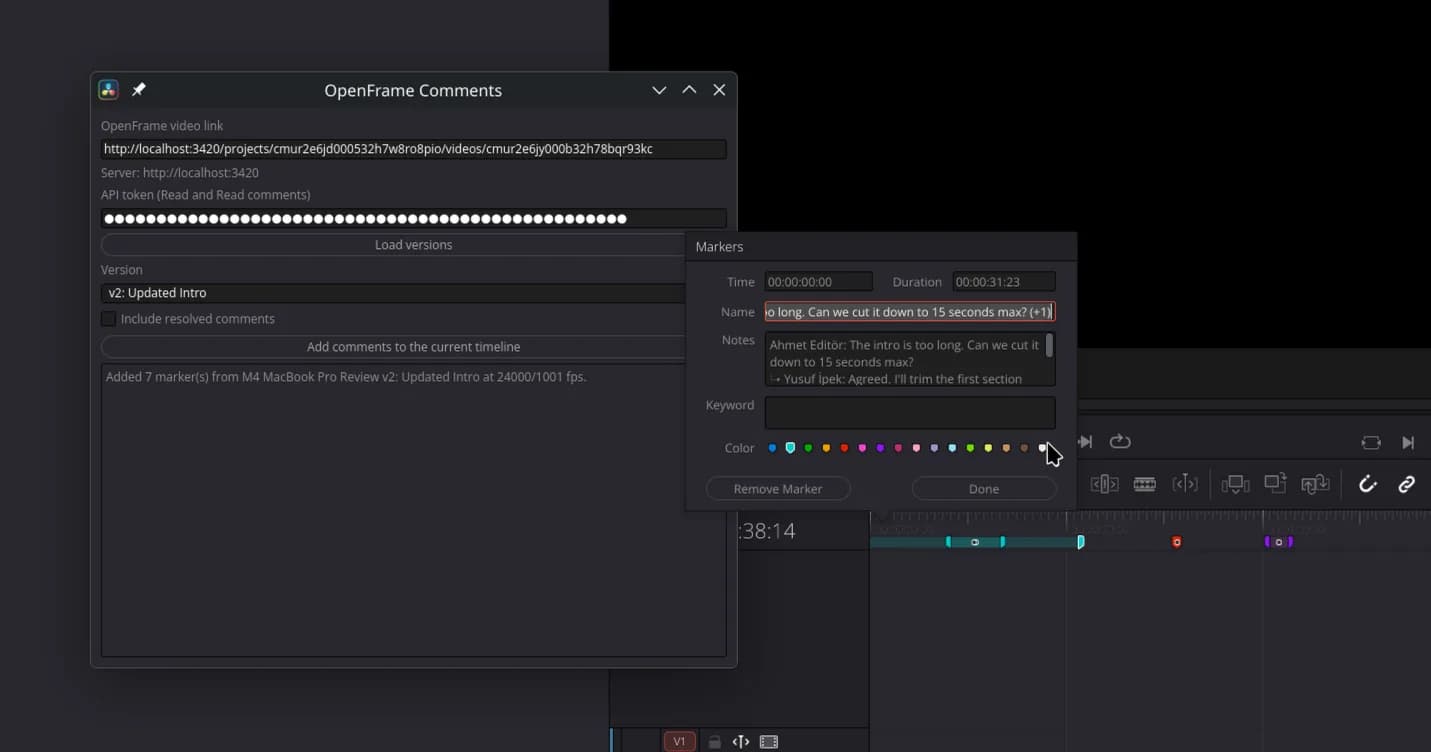
Double-click a marker to read the comment and its replies. Resolve has no orange markers, so orange tags show as yellow.
5. After new feedback
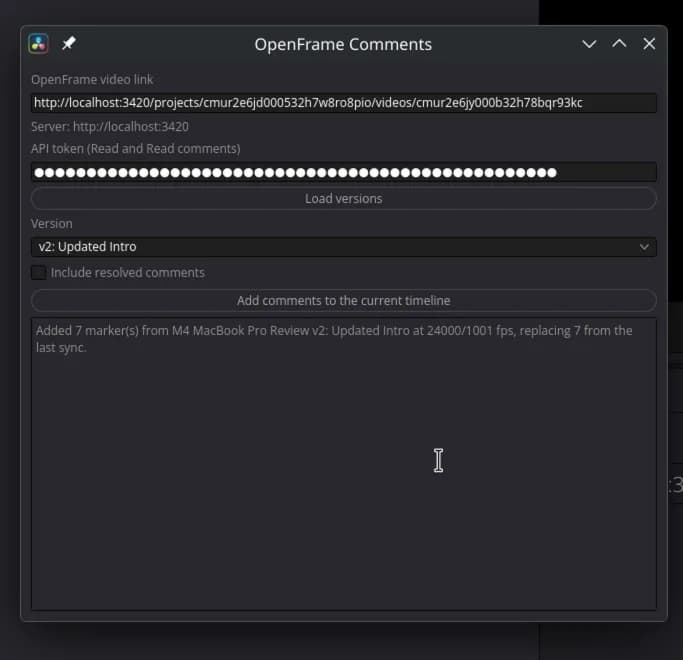
Choose the same button again and the markers are replaced with the current comments. If one of your own markers sits on the exact frame of a comment, Resolve keeps yours and the script tells you how many comments it skipped.
Good to know
- Marker colors follow the comment's tag. Comments without a tag are cyan, resolved ones green.
- Comments made at the same moment share one marker; its name shows how many more there are.
- Works with timelines at 23.976, 24, 25, 29.97, 30, 48, 50, 59.94 and 60 fps.
- Lost a computer? Remove its token in OpenFrame under Settings → API Tokens.
- Prefer files? The same menu also downloads a Resolve EDL or a Premiere XML to import by hand.